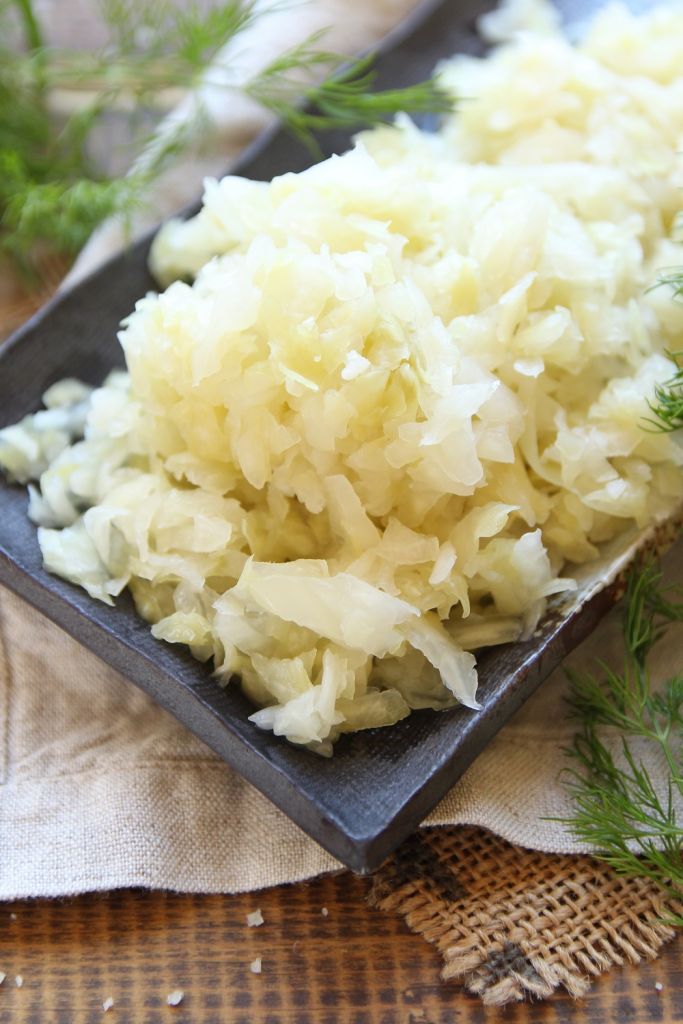
Have you tried sauerkraut before? Were you a fan, but never tried it at home to realize just how easy it is to prepare? Well I’m about to share with you just how simple it is to make your very own, homemade sauerkraut, that not only tastes much better than store bought, but is also healthier too!
Fun Fact
Homemade sauerkraut has been around for thousands of years. Although people presume that it’s from Germany because of it’s name, – “Sauer” meaning sour and “kraut” meaning cabbage- it was actually the Chinese who started this incredible super food.
But most of the sauerkraut bought at a supermarket has lost its good bacteria and probiotics. This is because large manufactures heat up the can in order to preserve its shelf life, thus destroying all of its health factors. Raw homemade sauerkraut on the other hand is loaded with healthy goodness!
Let’s take a look at some of the amazing health benefits of homemade sauerkraut are.
Amazing Health Benefits Of Homemade Sauerkraut
Just some of the amazing health benefits are:
- Raw sauerkraut is lacto-fermented, meaning that it is practically alive with good bacteria and probiotics
- High in vitamins C, B and K
- Low in calories
- High in calcium, magnesium
- Great source of folate, B vitamins, iron, potassium
- Balances stomach pH
- Great for the immune system
Incredible, right?
What You’ll Need
Makes 1 Liter Glass Jar
- 750 gr of Cabbage (1 Small Cabbage)
- 15 gr (1 Tablespoon) of Sea Salt
- 12 gr (3 Pieces) of Garlic Cloves
Instructions
1. First, make sure that you’ve washed your hands well.
2. Next, save one cabbage leaf and cut the rest up into thin slices, place in a large bowl, and add the sea salt and crushed garlic.
This Is My Favorite Part!
3. Get your hands to work, massaging the heck out of the cabbage until its volume has fully reduced. This should take roughly 5 minutes. In the end, you should be left with a lot of “cabbage Juice” that has been drawn out by the sea salt. Don’t throw it away, we’ll use it in just a bit.
4. Fill a glass jar with the cabbage, and add the brine from the bowl. The aim is for the cabbage to stay under the juice, not exposed to the oxygen. So, this is where the saved cabbage leaf comes in handy.
5. Using physical force, shove the leaf into the jar so that the chopped cabbage won’t float, and is submerged in our brine. If you want to be on the safe side, you can also place a glass on top of the cabbage leaf.
We’re Almost Finished
6. Close the jar, and leave to ferment at room temperature for 5 – 7 days, away from direct sunlight, before transferring it to your fridge. When the taste satisfies you it’s ready. If not, leave for a little while longer.
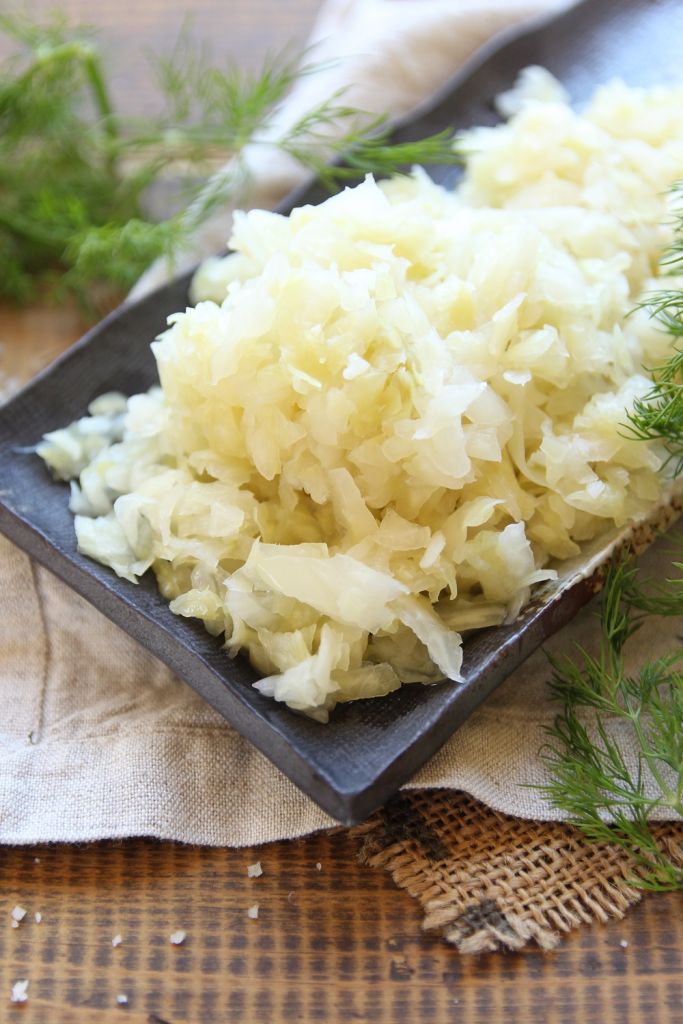
7. So, there you have it, your very homemade sauerkraut. Next time try adding some dill or jalapenos and see how that turns out.
Liked this incredibly delicious, easy, and healthy recipe? Share it with your friends.
Next time try my Homemade Dill Pickles. They only take a few minutes to prepare and taste 10 times better than store bought.

The only downside when fermenting is the sodium from the salt. Talk to your doctor if you have any health related conditions.
Lots of love from Elinor, Let’s Brighten Up xx




2 thoughts on “Super Healthy Homemade Sauerkraut”
I have never used something like a leaf to keep the sauerkraut down, I have usually used a weight or something of the sort. If a leaf works that is incredibly simple! This is a great article and it seems very simple and easy to make! I would love to try this at home – and your comment on adding dill or jalapenos is genius! I will have to try that too. Thanks for the recipe!
Hi Billy, thanks for your lovely comment! The leaf really helps keeping everything down, although sometimes I do also add a weight, just to be sure.
So glad you liked the add ons. Enjoy 🙂